
Gardening


Homesteading is about skillbuilding. It allows us to be more self-sufficient and sustainable; having the skills to provide for ourselves and our families. It has a lot less to do with lot size and more to do with how much we choose to produce within our abilities. Start the garden. You’ll be amazed at the results.
How to Plant Mini Gold & Red Potatoes

Springtime is the best time to plant potatoes. They like to be planted in the cooler temps, typically for the northern midwest between late April and Mother’s Day.
Finding a location to plant your potatoes is important. They need at least 6-8 hours of full sun. The second thing is to make sure your soil is light and fluffy. All the magic happens underground so they need soil that will move with the growth of the tubers. A raised bed, large pot or 5 gal bucket (will fit one large potato and will still yield a good harvest!), or larger grow bag (will fit 3 large potatoes) is perfect for controlling that.
Work the soil up really nicely with a digging fork, then add in Espoma Organic Bio-tone Starter Fertilizer. Sprinkle it in over the top then work it in with your hands to distribute. Potatoes like a pH between 5-6 but they’re fairly adaptable, but if you have really high alkaline soil, add some sulfur to the soil to balance that out.
Next, you’ll need to prep the potatoes. Many potatoes in the grocery store have been treated with a sprout-inhibitor that prevents the potatoes' eyes from developing while in storage and on the shelf. Look for Seed potatoes that are made for growing, or organic potatoes (that have not been sprayed with sprout retardant). If you can find potatoes that already have "eyes" that are budding, use those. This way you know they are viable for planting. If you have smaller potatoes, you can plant them whole; larger potatoes you’ll cut in half or quarters keeping the eye in tact. Then you’ll want to let them dry for a day or two to let the cut side heal over and helps prevent rot - a little dusting of cornstarch over the cut area can help speed up the process, too.
Dig trenches 4-6 inches deep, about one foot apart. Place each potato eyes facing up about 8 inches apart from each other. Just keep in mind, more space means more room to grow larger potatoes. A raised bed that is 3x6’ can fit approx 20-22 potatoes in three rows. Fill the trenches in with the soil. For a bucket/bag, fill the soil about half way up, place 1-3 potatoes in and cover with a couple inches of soil. As it sprouts, keep adding more soil around the base (don’t bury the stem) until you get to the top. All that growth will produce more potatoes!
Give the potatoes a good soak. They’ll need to be watered about once or twice a week during the hottest parts of the summer, and even more often during their flowering stage. That’s when they’re producing their tubers. Just make sure the top 1-2 inches of topsoil is dried out in between waterings. Too wet of soil will make them rot.
Once the plants have reached 8-10 inches tall, add a little more soil and mound it up around the plants. This will help keep them cool.
Depending on your climate, these potatoes will take about 100 days to mature. They’ll tell you when they’re ready to harvest when the plants have yellowed and fallen over. But be sure to write it on the calendar so you can be watching for it!
Happy planting!
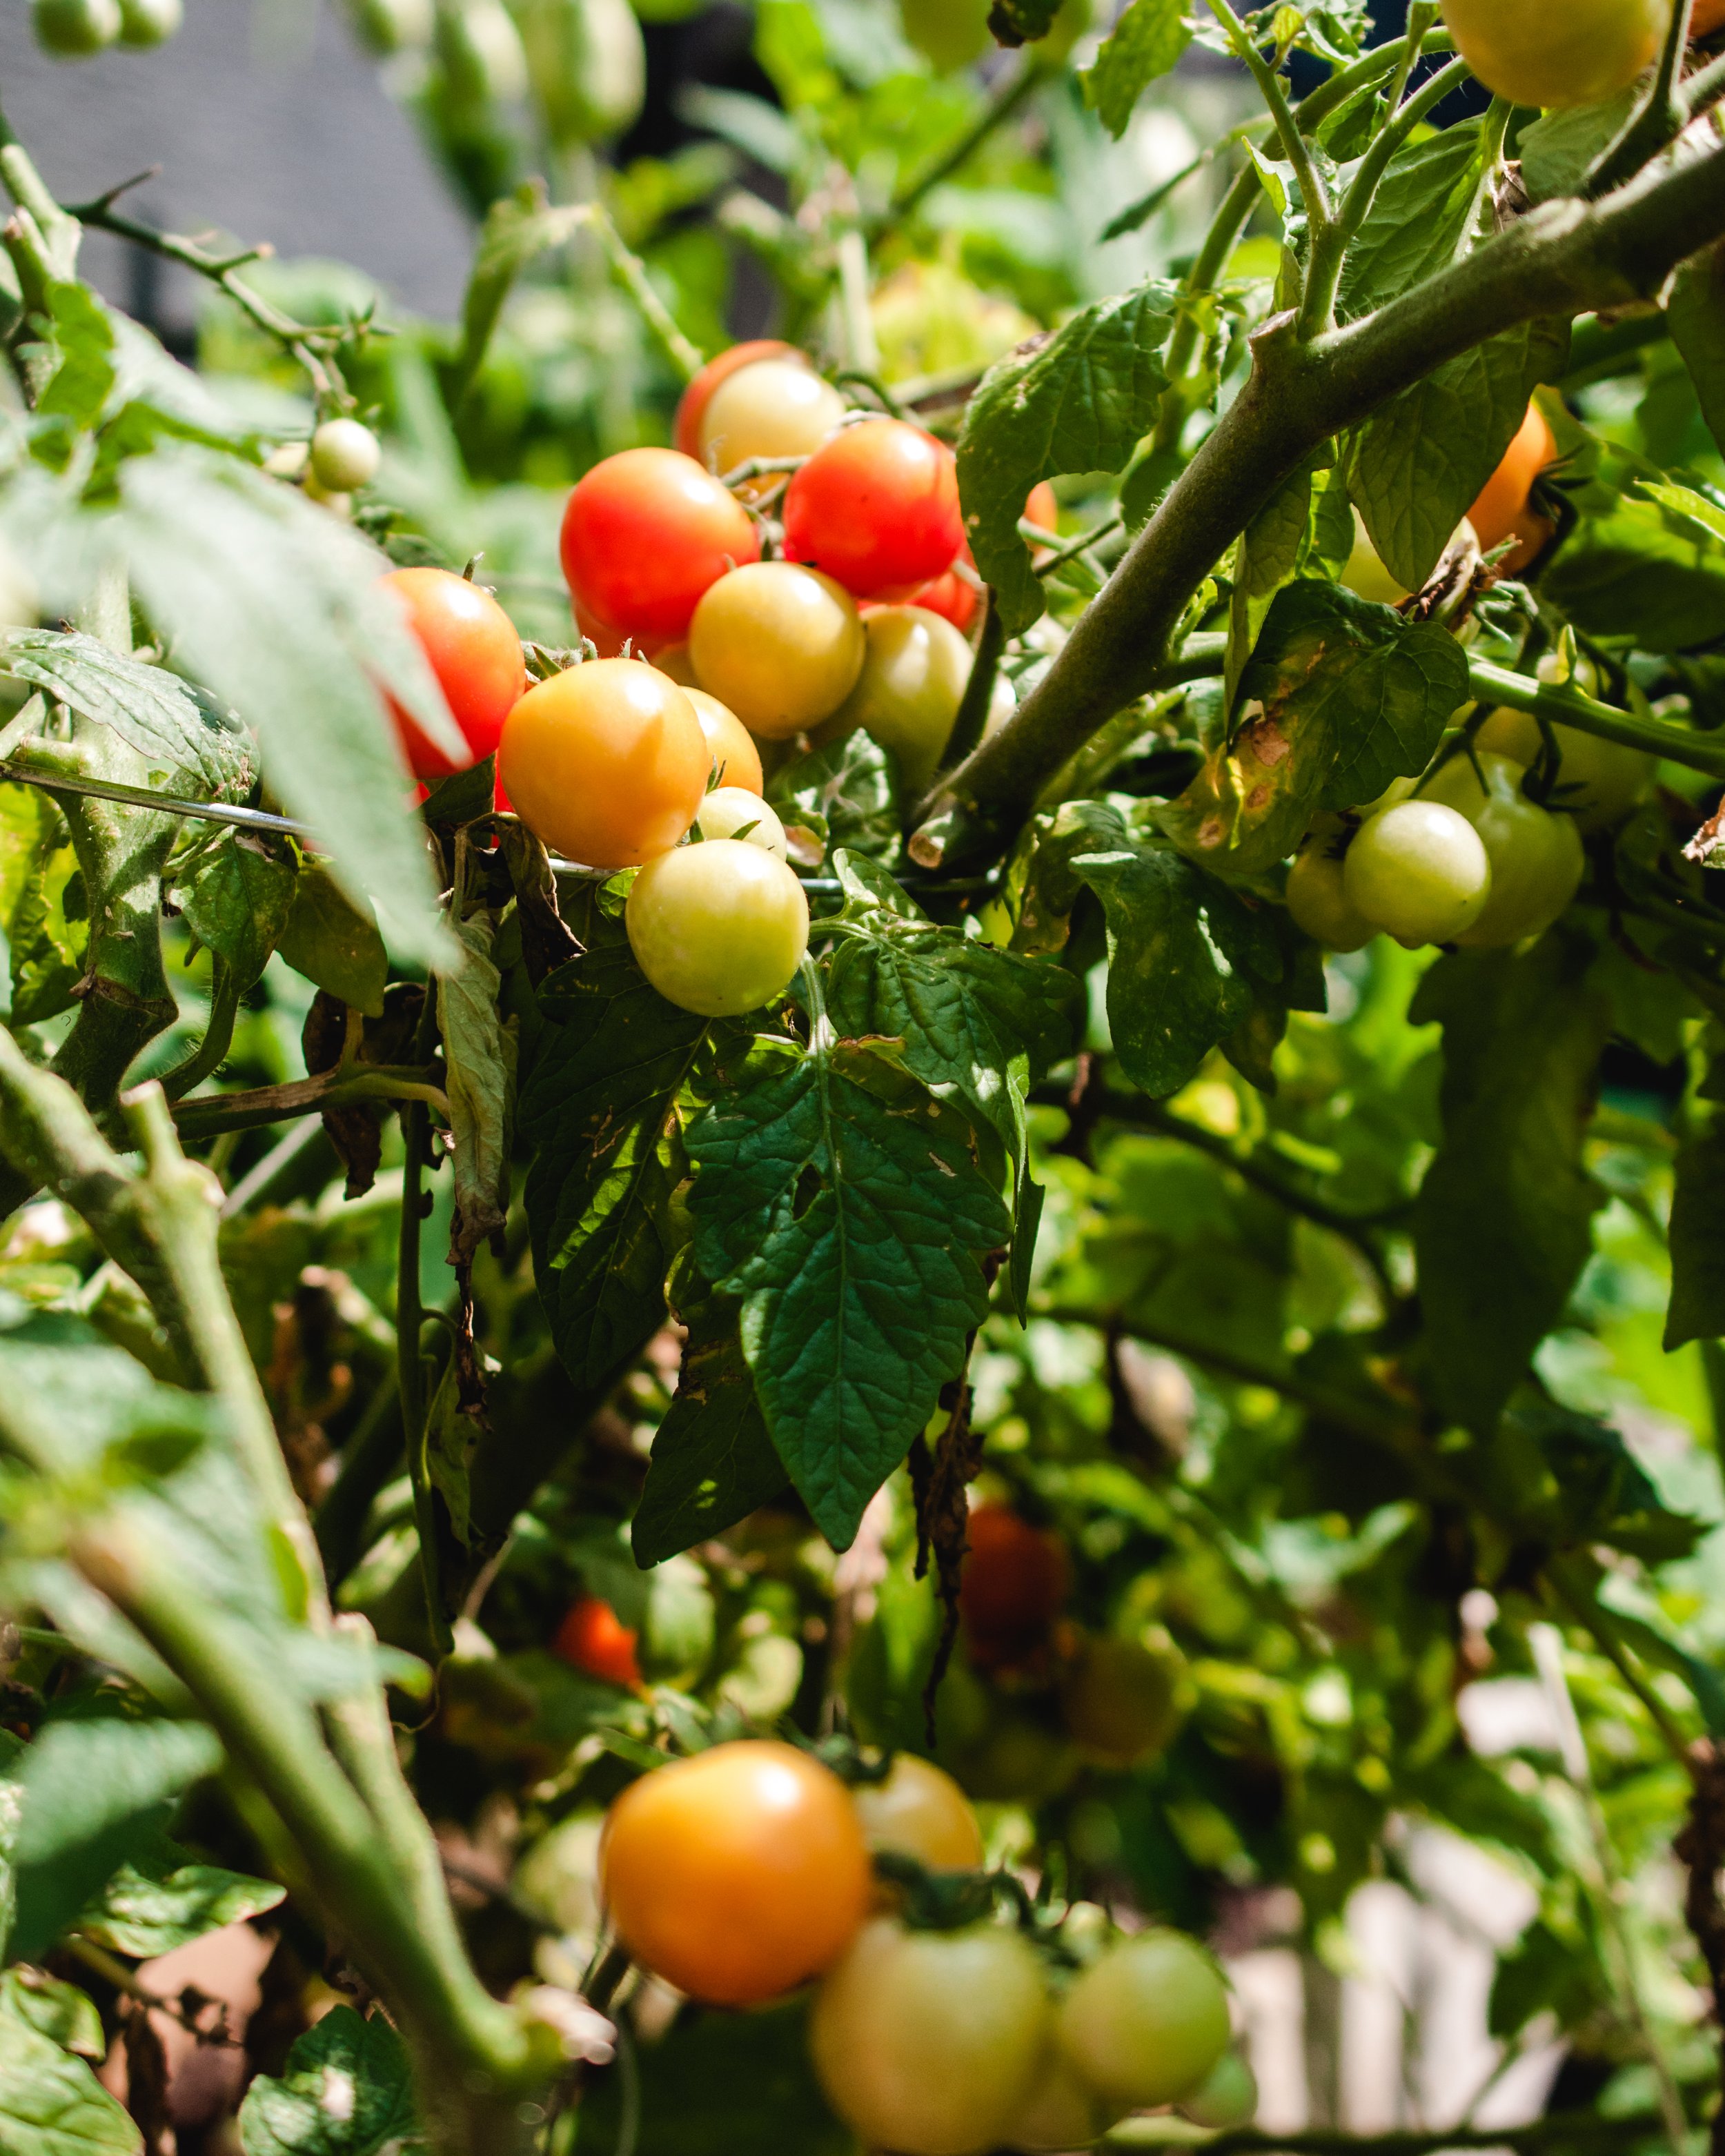
Vegetable Gardening from a Beginner

A few years ago, I started a small backyard vegetable garden with little experience and a hopeful heart. I wasn’t expecting perfection — just hoping to grow a few things successfully and learn along the way. It quickly turned into one of my favorite hobbies. There’s something incredibly rewarding about watching a tiny seedling turn into a thriving plant that eventually feeds your family.
If you’re new to gardening, don’t overcomplicate it. Start with a few vegetables your family actually enjoys eating and focus on learning the basics: sunlight, watering, healthy soil, and spacing. Most vegetables need at least 6–8 hours of full sun each day, so choosing the right location is one of the biggest factors for success.
I used a three-tiered raised garden bed because raised beds warm up faster in spring, drain better, and are easier to manage than in-ground gardens. To save money on soil, I filled the bottom of the deeper tiers with sticks, cardboard, and untreated scrap wood before adding raised bed soil on top. This helps take up space while still allowing for drainage and root growth.
One of the most helpful things I learned was companion planting — placing certain plants together to naturally benefit one another. Basil planted near tomatoes can help deter pests and is convenient for cooking. Marigolds are another great addition because they help repel unwanted bugs around vegetable beds. Potatoes and onions also grow well near each other and make great beginner crops.
Potatoes ended up being my favorite thing to grow. They’re surprisingly easy and fun to harvest. Plant seed potatoes or sprouted organic potatoes in early spring when temperatures are still cool. Place them with the “eyes” facing upward about 6–8 inches apart and a few inches below the soil surface. As the plants grow, mound additional soil around the stems to encourage more potato production. Most varieties take around 90–100 days to mature. Once the foliage turns yellow and starts dying back, they’re usually ready to harvest.
Healthy soil makes a huge difference in a garden. I kept things simple by using an organic raised bed soil mixed with an organic vegetable fertilizer when planting. Consistent watering is important, especially during hot summer weeks, but overwatering can be just as harmful. A layer of mulch around plants can help retain moisture and reduce weeds.
Herbs have been some of the easiest and most rewarding plants to grow outdoors. Rosemary, thyme, parsley, basil, and mint all do well in containers or raised beds with plenty of sunlight. One thing to know about mint: keep it in its own container if possible because it spreads aggressively and can quickly take over a garden bed.
Basil became one of my most-used plants during summer. To encourage a fuller plant with more leaves, regularly pinch or cut the stems just above where two leaves branch into a “Y” shape. This keeps the plant from flowering too early and helps it continue producing throughout the season.
Gardening definitely comes with challenges — pests, weather, and trial-and-error moments — but that’s part of the process. Every season teaches you something new. As summer winds down, I’m already planning for fall planting and looking ahead to next spring’s garden.
If you’ve been thinking about starting a vegetable garden, this is your sign to try. You don’t need a huge space or years of experience to grow something rewarding.

Follow My Favorite Instagram Gardeners
Tips to grow fruit and vegetables
Growing food & teaching preservation

Garden Education

Garden, landscape, environmentalist

Teaches how to grow your own food

Answers all your garden questions

Homesteading, gardening, faith
